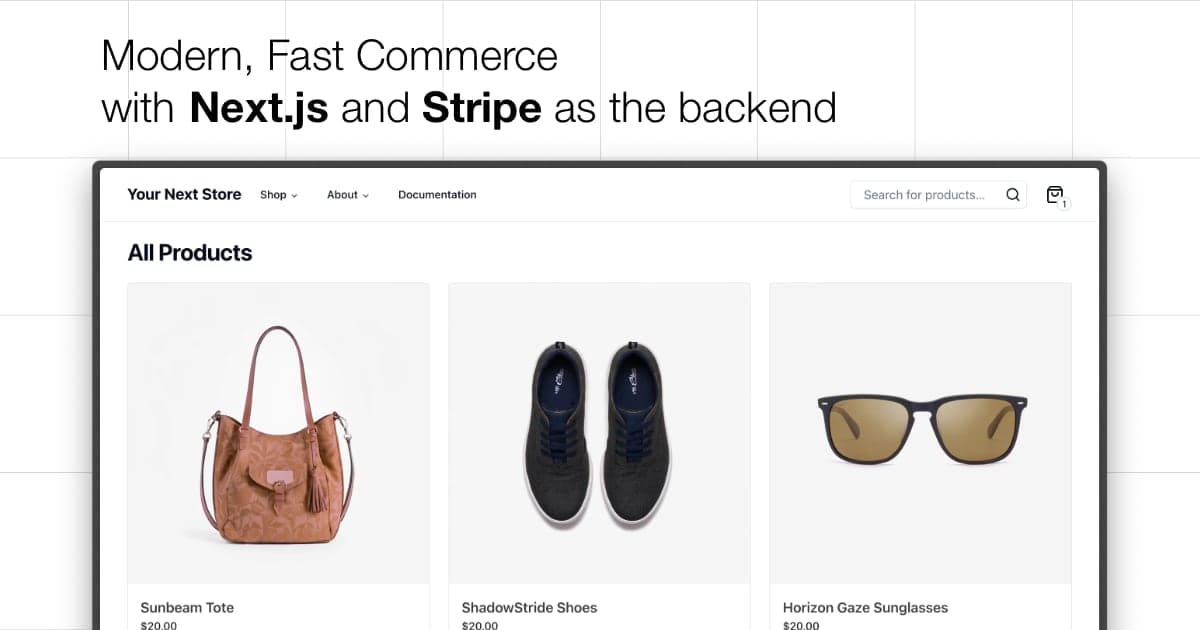
Your Next Store
Open-source AI-native Next.js e-commerce template.
Powered by Stripe. Built for AI coding tools.
Live Demo: demo.yournextstore.com
| AI-Friendly Codebase | Ships with AGENTS.md — idiomatic patterns, Commerce Kit SDK with typed methods. Claude Code, Cursor, and Codex work out of the box |
| Stripe-Native | Direct Stripe API integration — checkout, billing, subscriptions |
| Next.js 16 | App Router, React Server Components, React Compiler |
| Open Source | Self-host anywhere, deploy to Vercel in one click |
Quick Start
Open localhost:3000 — your store is running.
Why AI Tools Work Better Here
| Familiar patterns | Idiomatic Next.js App Router (Server Components, Server Actions, "use cache") — matches what LLMs have seen thousands of times |
| Commerce Kit SDK | Methods like productBrowse() and cartUpsert() have defined input/output shapes. LLMs write correct code when they know the contracts |
| Well-defined domain | Products, variants, carts, checkout — the data models already exist with clear types. No need for the LLM to invent them |
| AGENTS.md | Full project context, SDK examples, Biome rules, and validation checklist — AI agents understand the codebase before writing a single line |
Tech Stack
- Next.js 16 — App Router, React Server Components, React Compiler
- Bun — Fast JavaScript runtime and package manager
- Commerce Kit SDK — Headless commerce API integration
- Tailwind CSS v4 — Utility-first styling
- Shadcn UI — 50+ accessible components built on Radix UI
- TypeScript — Strict type-safe development
- Biome — Lightning-fast linter and formatter
Prerequisites
- Node.js 24+
- Bun 1.0+
- YNS API key from https://yns.store/manage/settings/api
Environment Variables
Copy .env.example to .env.local and set:
YNS_API_KEY— Your API token from the admin panel
Publishing & Store API from the CLI
Two small scripts in scripts/ talk to the YNS platform using only the store's YNS_API_KEY (read from .env.local / .env):
scripts/publish.sh deploys the tenant repo's remote main — push your commits first. scripts/api.sh is a thin wrapper around curl that handles auth, base-URL resolution, and pretty JSON output for every /api/v1/* endpoint (see the API documentation).
Contributing
See CONTRIBUTING.md for coding conventions and PR checklist.
Next Steps
Refer to the API documentation for details on fetching products, managing carts, and building on top of YNS.
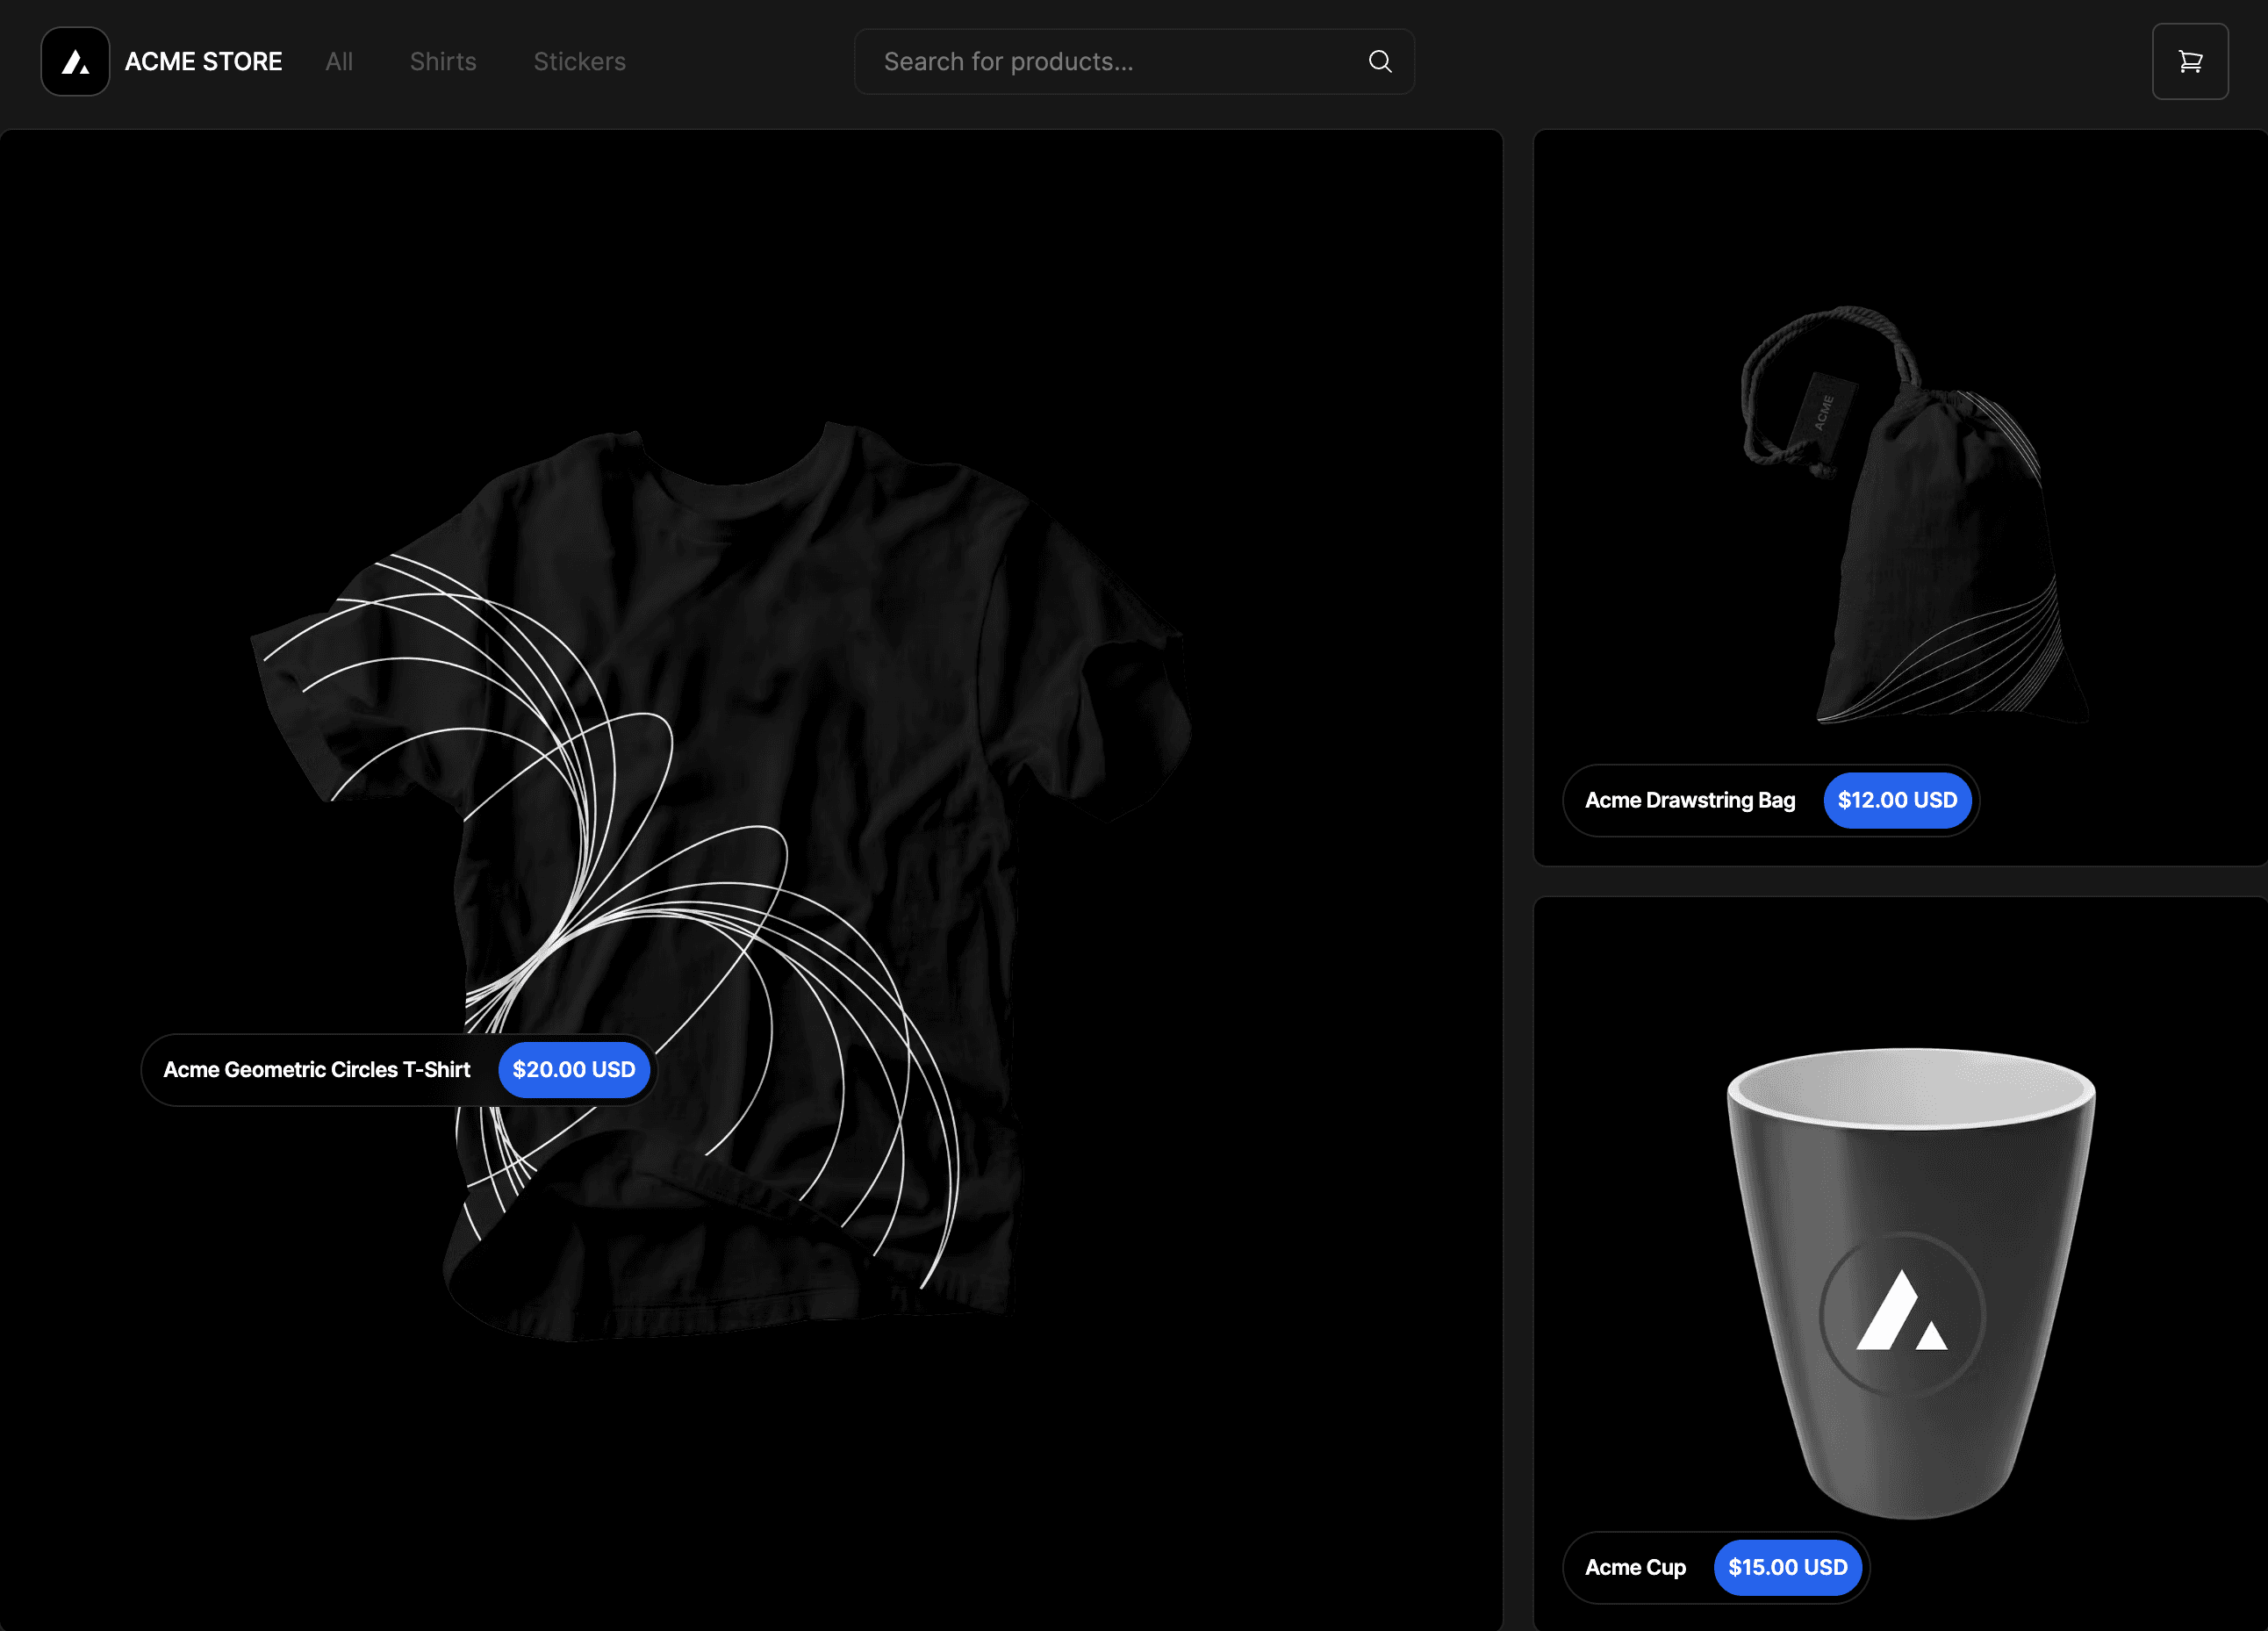
Themes
Your Next Store ships with 149 ready-made themes across different store categories. Each theme includes a fully redesigned homepage, hero, color palette, and section layout — all built on the same core codebase.
Themes live on branches named theme-001 … theme-149. Switch themes with a single command:
Browsing themes
Each theme branch is a single commit on top of main whose message describes the theme's vibe. List them all (id + description) with:
All theme branches use a zero-padded three-digit id (
theme-001…theme-149). Themes modify only visual components and static assets — your products, cart, and checkout remain unchanged.
