Admin Dashboard Template
Tailwind CSS, Postgres, and Auth set up.
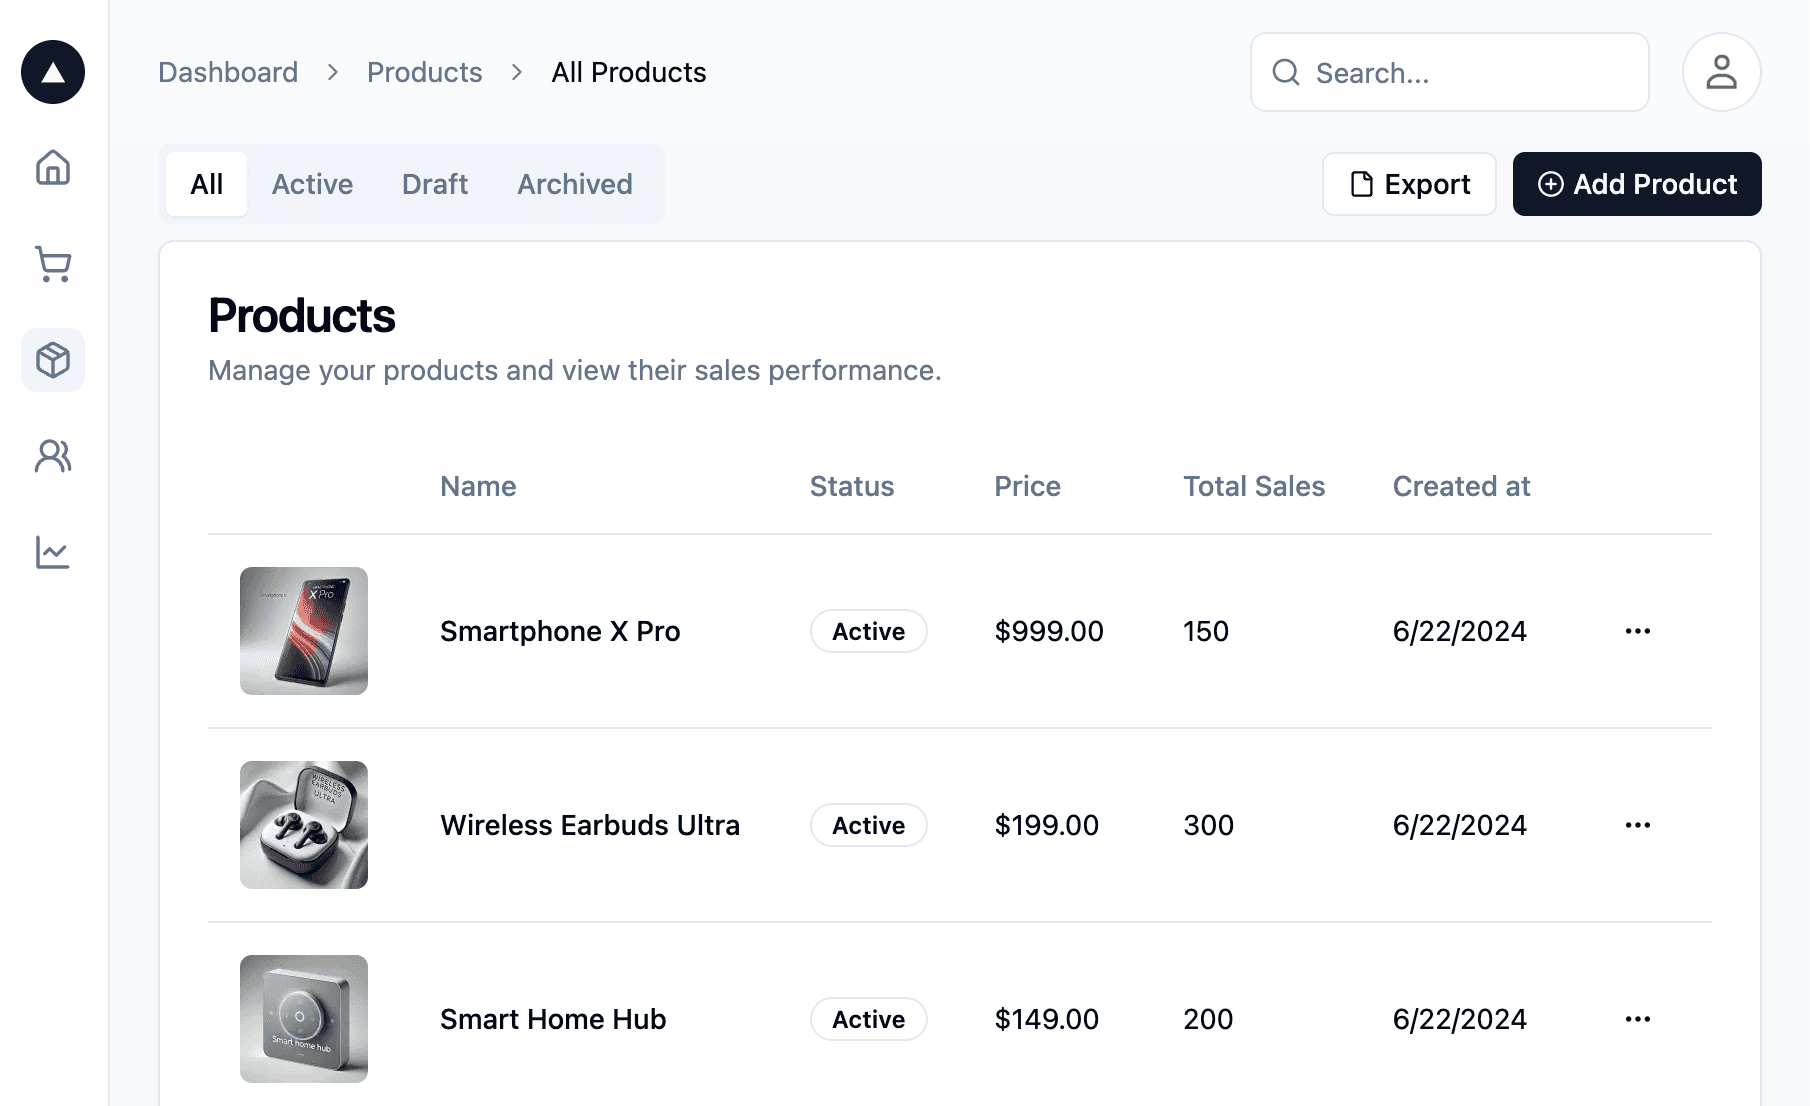
Overview
This is a starter template using the following stack:
- Framework - Next.js (App Router)
- Language - TypeScript
- Auth - Auth.js
- Database - Postgres
- Deployment - Vercel
- Styling - Tailwind CSS
- Components - Shadcn UI
- Analytics - Vercel Analytics
- Formatting - Prettier
This template uses the new Next.js App Router. This includes support for enhanced layouts, colocation of components, tests, and styles, component-level data fetching, and more.
Getting Started
During the deployment, Vercel will prompt you to create a new Postgres database. This will add the necessary environment variables to your project.
Inside the Vercel Postgres dashboard, create a table based on the schema defined in this repository.
Then, uncomment
app/api/seed.tshttp://localhost:3000/api/seedNext, copy the
.env.example.env.env.example
Finally, run the following commands to start the development server:
You should now be able to access the application at http://localhost:3000.
Admin Dashboard Template
Tailwind CSS, Postgres, and Auth set up.
Overview
This is a starter template using the following stack:
- Framework - Next.js (App Router)
- Language - TypeScript
- Auth - Auth.js
- Database - Postgres
- Deployment - Vercel
- Styling - Tailwind CSS
- Components - Shadcn UI
- Analytics - Vercel Analytics
- Formatting - Prettier
This template uses the new Next.js App Router. This includes support for enhanced layouts, colocation of components, tests, and styles, component-level data fetching, and more.
Getting Started
During the deployment, Vercel will prompt you to create a new Postgres database. This will add the necessary environment variables to your project.
Inside the Vercel Postgres dashboard, create a table based on the schema defined in this repository.
Then, uncomment
app/api/seed.tshttp://localhost:3000/api/seedNext, copy the
.env.example.env.env.example
Finally, run the following commands to start the development server:
You should now be able to access the application at http://localhost:3000.


