
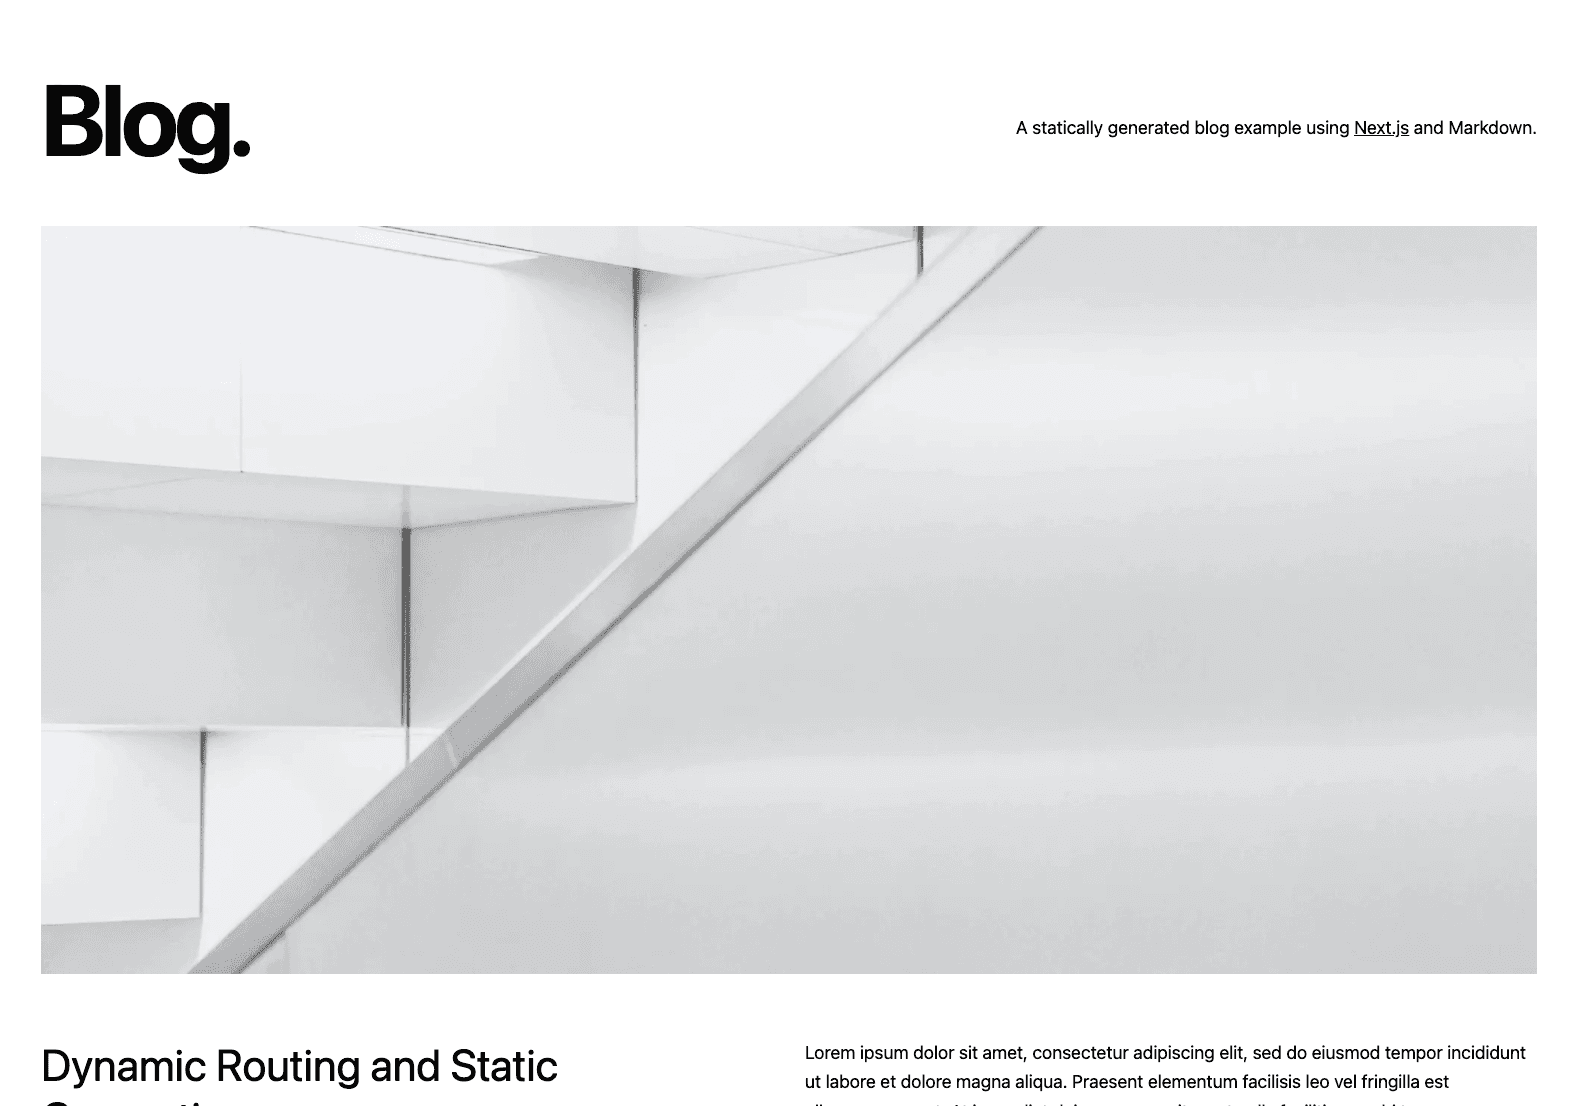
A statically generated blog example using Next.js and Contentful
This example showcases Next.js's Static Generation feature using Contentful as the data source.
Demo
https://app-router-contentful.vercel.app/
Deploy your own
Using the Deploy Button below, you'll deploy the Next.js project as well as connect it to your Contentful space using the Vercel Contentful Integration.
Related examples
- AgilityCMS
- Builder.io
- ButterCMS
- Contentful
- Cosmic
- DatoCMS
- DotCMS
- Drupal
- Enterspeed
- Ghost
- GraphCMS
- Kontent.ai
- MakeSwift
- Payload
- Plasmic
- Prepr
- Prismic
- Sanity
- Sitecore XM Cloud
- Sitefinity
- Storyblok
- TakeShape
- Tina
- Umbraco
- Umbraco heartcore
- Webiny
- WordPress
- Blog Starter
How to use
Execute create-next-app with npm, Yarn, or pnpm to bootstrap the example:
Configuration
Step 1. Create an account and a space on Contentful
First, create an account on Contentful.
After creating an account, create a new empty space from the dashboard and assign to it any name of your liking.
Step 2. Create a content model
The content model defines the data structures of your application/websites. The structures are flexible and you can tailor them to your needs.
For this example you need to create a content model that defines an author and a post content type. You can create these two by running a script or by doing it manually to familiarize yourself with the Contentful user interface.
Run a script to create the content model
This project includes a setup script which you can use to set up the content model expected by the source code.
In your Contentful dashboard go to Settings > General Settings and copy the Space ID.
Next, go to Settings > CMA tokens and create a new token by clicking Create personal access token. This token has the same access rights as the logged in user. Do not share it publicly, you will only use it to set up your space and can delete it afterwards.
With the space ID and management access token at hand run the following command:
This command will create the needed content structures and set up your Contentful space ready to use. The output should look as follows:
Create the content model manually
Create an Author content type
From your contentful space, go to Content model and add a new content type:
- Give it the Name
Author, the Api Identifier should beauthor
Once the content model is saved, add these fields (you don't have to modify the settings unless specified):
name- Text field (type short text). Field ID should be set tonamepicture- Media field (type one file). Field ID should be set topicture
Save the content type and continue.
Create a post type
From your contentful space, go to Content model and add another content type:
- Give it the Name
Post, the Api Identifier should bepost
Next, add these fields (you don't have to modify the settings unless specified):
title- Text field (type short text)content- Rich text fieldexcerpt- Text field (type Long text, full-text search)coverImage- Media field (type one file)date- Date and time fieldslug- Text field. You can optionally go to the settings of this field, and under Appearance, select Slug to display it as a slug of thetitlefield.author- Reference field (type one reference)
Save the content type and continue.
Step 3. Validate your content model
After setting up the content model (either manually or by running npm run setup or yarn setup), it should look as follows.
Content model overview
Step 4. Populate Content
Go to the Content section in your space, then click on Add entry and select the Author content type:
- You just need 1 author entry.
- Use dummy data for the text.
- For the image, you can download one from Unsplash.
Next, create another entry with the content type Post:
- We recommend creating at least 2 post entries.
- Use dummy data for the text.
- For images, you can download them from Unsplash.
- Pick the author you created earlier.
Important: For each entry and asset, you need to click on Publish. If not, the entry will be in draft state.
Step 5. Set up environment variables
From your contentful space, go to Settings > API keys. There will be an example Content delivery / preview token - you can use these API keys. (You may also create a new key.)
Next, copy the .env.local.example file in this directory to .env.local (which will be ignored by Git):
Then set each variable on .env.local:
CONTENTFUL_SPACE_IDshould be the Space ID field of your API KeyCONTENTFUL_ACCESS_TOKENshould be the Content Delivery API - access token field of your API keyCONTENTFUL_PREVIEW_ACCESS_TOKENshould be the Content Preview API - access token field of your API keyCONTENTFUL_PREVIEW_SECRETshould be any value you want. It must be URL friendly as the dashboard will send it as a query parameter to enable Next.js Draft Mode-
CONTENTFUL_REVALIDATE_SECRETshould be any value you want. This will be the value you pass in as a secret header from the Contentful Webhook settings to use On-Demand Revalidation
Your .env.local file should look like this:
Step 6. Run Next.js in development mode
Your blog should be up and running on http://localhost:3000! If it doesn't work, post on GitHub discussions.
Step 7. Try Draft Mode
In your Contentful space, go to Settings > Content preview and add a new content preview for development.
The Name field may be anything, like Development. Then, under Content preview URLs, check Post and set its value to:
Replace <CONTENTFUL_PREVIEW_SECRET> with its respective value in .env.local.
Once saved, go to one of the posts you've created and:
- Update the title. For example, you can add
[Draft]in front of the title. - The state of the post will switch to CHANGED automatically. Do not publish it. By doing this, the post will be in draft state.
- In the sidebar, you will see the Open preview button. Click on it!
You will now be able to see the updated title. To manually exit Draft Mode, you can navigate to /api/disable-draft in the browser.
Step 8. Deploy on Vercel
You can deploy this app to the cloud with Vercel (Documentation).
Deploy Your Local Project
To deploy your local project to Vercel, push it to GitHub/GitLab/Bitbucket and import to Vercel.
Important: When you import your project on Vercel, make sure to click on Environment Variables and set them to match your .env.local file.
Deploy from Our Template
Alternatively, you can deploy using our template by clicking on the Deploy button below.
This will deploy the Next.js project as well as connect it to your Contentful space using the Vercel Contentful Integration. If you are using Draft Mode, make sure to add CONTENTFUL_PREVIEW_SECRET as an Environment Variable as well.
Step 9. Try using On-Demand Revalidation
In your Contentful space, go to Settings > Webhooks and add a new webhook:
-
Give the webhook a name
-
Activate: Check the activate checkbox to ensure the webhook is marked as active
-
Specify the POST URL: Using the URL from your Vercel deployment in step 8, add the path
/api/revalidateat the end, so it would look something like:https://<YOUR_VERCEL_DEPLOYMENT_URL>/api/revalidateReplace
<YOUR_VERCEL_DEPLOYMENT_URL>with your own deployment URL as noted in the Vercel dashboard. -
Specify Triggers: You can choose to trigger for all events or specific events only, such as the Publishing and Unpublishing of Entries and Assets, as shown below.
-
Specify Secret Header: Add a secret header named
x-vercel-reval-keyand enter the value of theCONTENTFUL_REVALIDATE_SECRETfrom before. -
Set Content type: Set content type to
application/jsonin the dropdown. -
Edit post: Now, try editing the title of one of your blog posts in Contentful and click Publish. You should see the changed reflected in the website you just deployed, all without triggering a build! Behind the scenes a call was made to the revalidate api that triggers a revalidation of both the landing page and the specific post that was changed.
-
Verify: You can verify if your request was made successfully by checking the webhook request log on Contentful and checking for a successful 200 status code, or by having your functions tab open on Vercel when committing the change (log drains may also be used). If you are experiencing issues with the api call, ensure you have correctly entered in the value for environment variable
CONTENTFUL_REVALIDATE_SECRETwithin your Vercel deployment.